Embark on a culinary adventure as we delve into the world of vertical smokers, where flavor and affordability converge. In this guide, tailored for both novices and seasoned pitmasters, we’ll explore the nuances of vertical smokers, their types, advantages, and provide you with a meticulous step-by-step approach to building your very own DIY vertical smoker. Let’s transform your backyard into a haven of smoky delights!

What Is A Vertical Smoker?
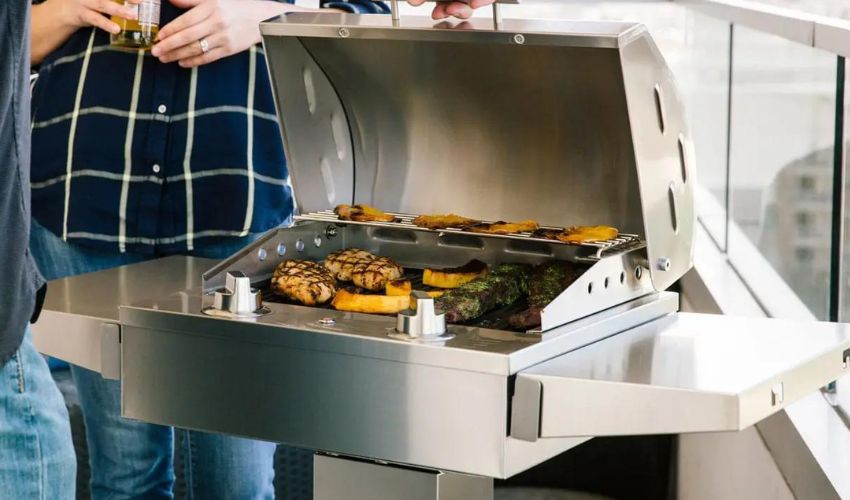
A vertical smoker stands as a culinary workhorse, residing on your countertop with a heating element beneath a cooking grate. This setup facilitates the simultaneous preparation of multiple dishes, each basking in the slow-cooked infusion of smoky goodness generated by burning wood chips or meat chunks.
This is most commonly associated with smoking meat like beef brisket or pork ribs. But you can also use it for smoking vegetables and fruit, like apple-wood-smoked green beans or honey-glazed carrots.

Why Opt for a Vertical Smoker?
Vertical smokers boast several advantages:
- Ease of Use: Plug-and-play simplicity ensures you can enjoy smoked delights without specialized expertise.
- Versatility: From beef ribs to salmon and even vegetables, the vertical smoker is a versatile companion for culinary exploration.
- Distinctive Smokey Flavor: Elevate the taste of your dishes with a rich, smoky essence, enhancing the overall dining experience.
Types Of A Vertical Smoker:
- Standard Vertical Smoker: This standalone smoker features a support stand for the cooking chamber, preventing direct contact with firewood and ensuring ideal warmth for meats, fish, and vegetables.

- Offset Vertical Smoker: Offering multi-level cooking with its offset smoke chamber, this type provides versatility in preparing various foods while maintaining consistent temperatures.
- Reverse Flow Vertical Smoker: Known as indirect grills, these smokers circulate heat around an inner core of charcoal, granting precise control over temperature zones for expert cooking.

A Step-by-Step Guide on Using Your Vertical Smoker:
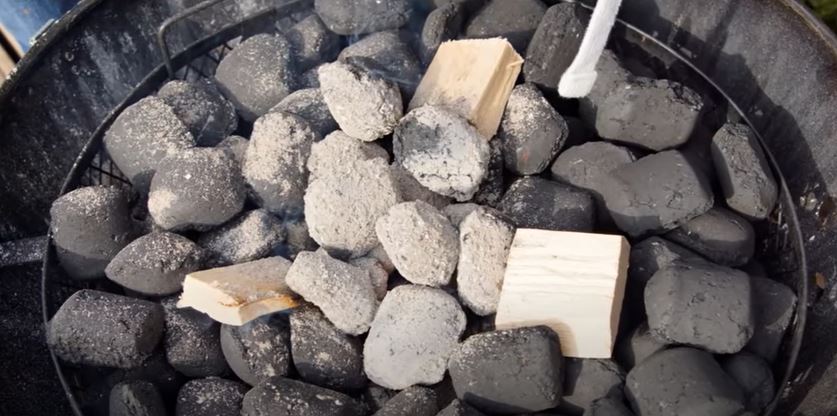
- Setting Up Your Smoker: Begin by filling the smoking chamber with wood chips or pellets.
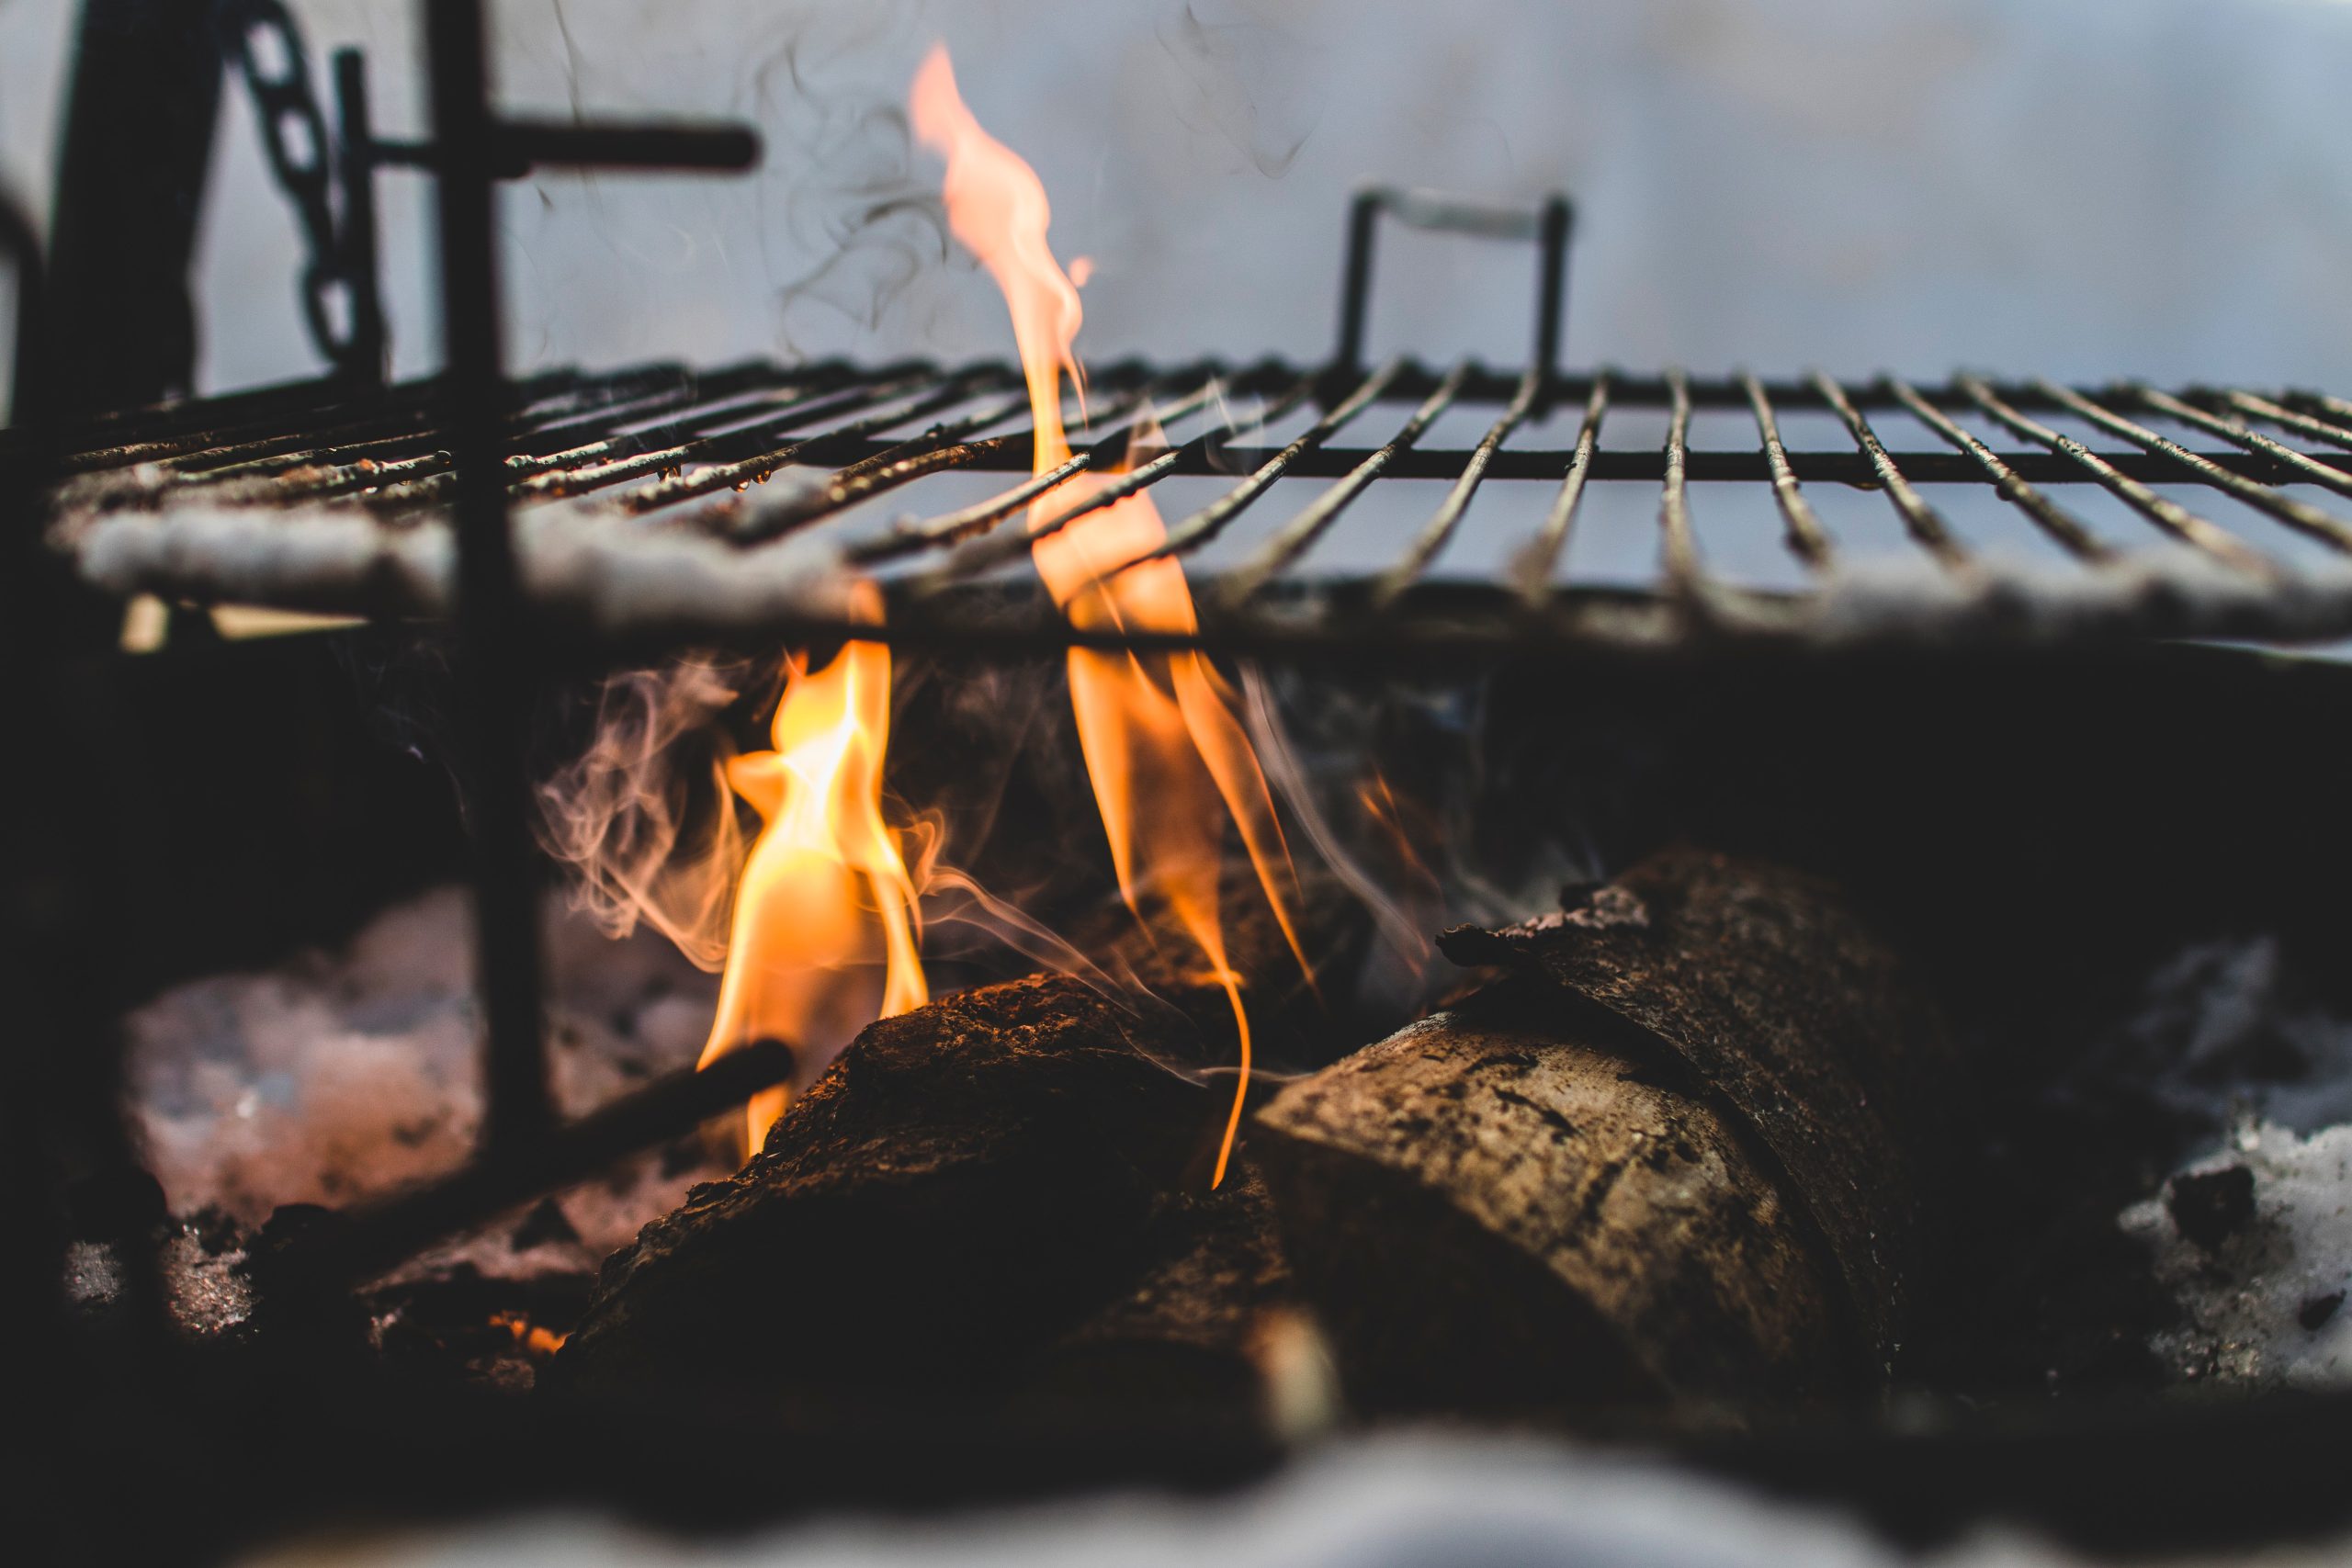
- Firing Up The Smoker: Open the lid, ignite the fire underneath, and let it burn for at least 30 minutes, ensuring the smoke is ready.
- Filling the Water Pan: Prevent scorching by filling the water pan to maintain juiciness in your smoked meats.
- Placing the Grill and Food: Strategically position the grill, ensuring all parts of the meat are in contact with the smoke.
- Monitoring & Controlling Temperature: Use a probe thermometer to keep a vigilant eye on your smoker’s temperature.
- Removing Cooked Food & Letting the Smoker Rest: After cooking, let your food cool for about 30 minutes before refrigerating for optimal flavor and safety.
How To Season A Vertical Smoker?
Contrary to some beliefs, seasoning your vertical smoker is essential. Follow these steps:
- Apply a coating of high-heat cooking oil on the inner side of the smoker.
- Heat the smoker to 275°F for two hours to optimize its performance.
DIY Vertical Smoker Plans:
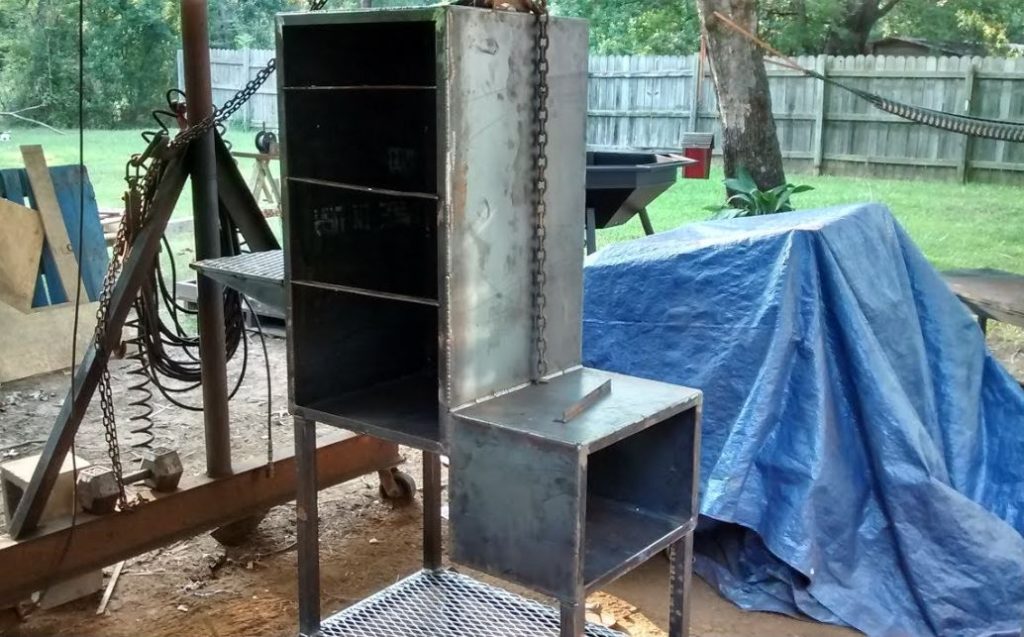
Embark on an exciting journey into the world of DIY vertical smokers. This comprehensive guide breaks down the process step-by-step, ensuring you not only understand the intricacies but can confidently build your own smoker. From choosing the right materials to crafting a functional design, we’ve got you covered.
Step 1: Assemble Your Arsenal of Materials and Tools
Crafting the Foundation
To ensure your vertical smoker withstands the test of time, opt for robust materials. Utilize 14 and 16-gauge sheet metal for the walls, 1-inch x 1-inch x 1/8-inch square tubing for the frame, and 3/4-inch #9 steel expanded metal for cooking surfaces and the fire basket.
Tools of the Trade
Equip yourself with essential tools, including a welder, welding chipping hammer, BBQ thermometer, and heavy-duty casters. Don’t forget miscellaneous bolts and nuts, welding rods, basic hand tools, and safety gear. Novice welder? Fear not – we’ll guide you through the process.
Step 2: Laying the Foundation – Crafting the Frame
Precision Matters
Construct the frame with finesse using 1-inch square tubing, meticulously welding with magnets for squareness. A wooden template aids in creating sides before welding. Pro tip: Invest in quality welding equipment for a sturdier foundation.
Mobility and Stability
Weld in heavy-duty casters for mobility and reinforce the bottom with angle steel. Openings in the frame’s top allow for the addition of clay or cat litter – secret ingredients for insulation and temperature control.
Step 3: Fortify with Walls, Top, and Doors
Inner Strength – Inside Walls and Top
Forge inner walls with 14-gauge sheet metal, minimizing warping during welding. Exterior walls, crafted from 16-gauge sheet metal, encase the inner structure. Optional but recommended: include a rotisserie tube between walls for added functionality.
Doors and Air Intake
Craft dual doors – one for food access, the other for fire management. A bolt, latch, and a heat-resistant handle complete the latching mechanism. Angle steel constructs the air intake for precise control. Remember, a well-sealed smoker is a happy smoker.
Step 4: Ascend with a DIY Chimney
Let the Smoke Rise
Fashion a chimney from a 4-inch metal dryer vent. Weld a flange to the top, creating a visually appealing circle. The curvature aids fitting, ensuring seamless integration. Pro tip: Pre-bend the metal strip for added convenience.
Strengthening the Exterior
Reinforce exterior walls with additional square tubing. This not only enhances structural integrity but also provides hooks for your grilling tools. It’s the little details that make a big difference.
Step 5: Doors, Grates, and the Heart – Fire Basket
Hinge Magic
Install square hinges for the doors, ensuring a snug fit. A felt gasket, temporarily taped, creates the necessary gap. Bolt a chipping hammer through the door for an effective latching mechanism.
Crafting the Essentials
Cooking grates are a breeze with 1-inch x 1-inch x 1/8 wire mesh and supporting bar stock. The fire basket, a critical component, utilizes 3/4-inch flattened expanded steel sheets. Angle steel beneath ensures proper airflow for the fire.
Step 6: Finishing Touches – Top Removal, Wall Insulation, and Side Table
Accessibility Matters
Plan for easy top removal if needed. Tapped holes facilitate bolt usage to keep the top secure. Fill the walls with clay kitty litter for insulation and thermal mass.
Side Table Extravaganza
Craft a folding side table from finger-jointed pine. Weld square tubing, drill holes, and add utility hinges for functionality. A “French cleat” mechanism ensures strength and efficiency.
Step 7: Polish and Proudly Display
Aesthetic Flourish
Polish your creation with grinding wheels and flap discs for a sleek finish. Apply high-heat BBQ paint, adhering the Nomex felt gasket. Strategically place thermometers for varied temperature monitoring.
The Grand Finale*
Your masterpiece is complete. Through grilling tests, let it prove its mettle. Achieving and maintaining temperature – this smoker does it all. Now, step back, admire your handiwork, and get ready for a smoking experience like no other.
Congratulations, pitmaster! You’ve conquered the art of building a vertical smoker. With this guide, you’ve not only crafted a functional masterpiece but also embarked on a journey where each smoking session becomes a testament to your skill and creativity
Vertical Smokers vs. Cabinet Smokers
Heating Elements and Fuel Sources
Vertical smokers, known for their widespread popularity, boast heating elements spanning the bottom. In contrast, cabinet smokers house heating elements at the top and bottom, albeit not as expansive. Cabinet smokers opt for hardwood chunks over wood chips, resulting in a subtler smoke presence.
Spatial Dynamics:
Unlike vertical smokers, cabinet models demand more space due to compartmentalization. Each piece is separated by walls, facilitating optimal air circulation. Understanding these distinctions provides clarity when choosing the smoker that aligns with your preferences.
Vertical vs. Horizontal Smokers
Heating Configuration
Vertical smokers dominate the market with heating elements running along the bottom. This versatile design accommodates disposable or electric elements. Conversely, horizontal smokers, an affordable alternative, feature a single rack with multiple openings, accommodating up to five pounds of food at a time.
Storage and Maintenance Advantages
Horizontal smokers steal the spotlight with their compact storage requirements. Omitting the need for a firebox streamlines the storage process compared to their vertical counterparts. Additionally, easy-to-dismantle parts, including the lid, make maintenance a breeze for horizontal smokers.
Frequently Asked Questions
Final Words
In wrapping up this guide, you now hold the keys to creating your own flavor haven with a DIY vertical smoker. Share your experiences, ask questions, and connect with a community passionate about mastering the art of smoking.
Happy grilling!


